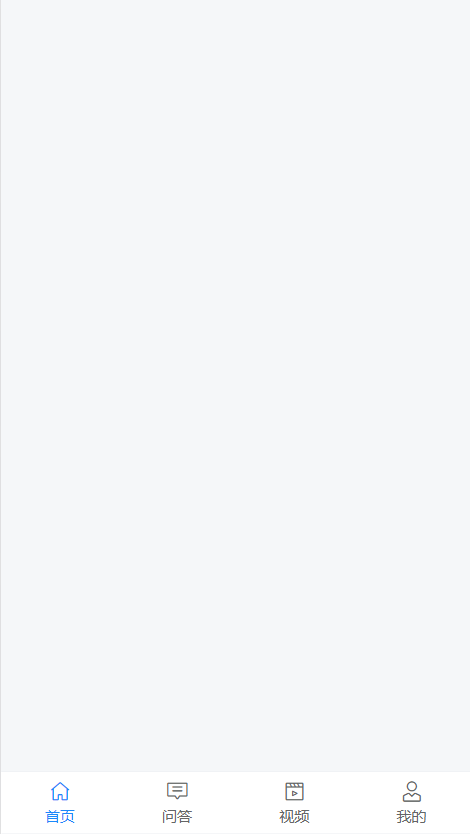
三、个人中心
TabBar 处理
通过分析页面,我们可以看到,首页、问答、视频、我的 都使用的是同一个底部标签栏,我们没必要在每个页面中都写一个,所以为了通用方便,我们可以使用 Vue Router 的嵌套路由来处理。
- 父路由:一个空页面,包含一个 tabbar,中间留子路由出口
- 子路由
一、创建 tabbar 组件并配置路由
这里主要使用到的 Vant 组件:
1、创建 src/views/layout/index.vue
<template>
<div class="layout-container">
<router-view />
<van-tabbar class="layout-tabbar" route>
<van-tabbar-item to="/">
<i slot="icon" class="toutiao toutiao-shouye"></i>
<span class="text">首页</span>
</van-tabbar-item>
<van-tabbar-item to="/qa">
<i slot="icon" class="toutiao toutiao-wenda"></i>
<span class="text">问答</span>
</van-tabbar-item>
<van-tabbar-item to="/video">
<i slot="icon" class="toutiao toutiao-shipin"></i>
<span class="text">视频</span>
</van-tabbar-item>
<van-tabbar-item to="/my">
<i slot="icon" class="toutiao toutiao-wode"></i>
<span class="text">我的</span>
</van-tabbar-item>
</van-tabbar>
</div>
</template>
<script>
export default {
name: 'LayoutIndex',
components: {},
props: {},
data () {
return {
}
},
computed: {},
watch: {},
created () {},
mounted () {},
methods: {}
}
</script>
<style scoped lang="less">
.layout-container {
.layout-tabbar {
i.toutiao {
font-size: 40px;
}
span.text {
font-size: 20px;
}
}
}
</style>
|
2、然后将 layout 组件配置到一级路由
{
  path: '/',
  component: () => import('@/views/layout')
}
|
访问 / 测试。
二、分别创建首页、问答、视频、我的页面组件
首页组件:
<template>
  <div class="home-container">首页</div>
</template>

<script>
export default {
  name: 'HomePage',
  components: {},
  props: {},
  data () {
    return {}
  },
  computed: {},
  watch: {},
  created () {},
  mounted () {},
  methods: {}
}
</script>

<style scoped></style>
|
问答组件:
<template>
  <div class="qa-container">问答</div>
</template>

<script>
export default {
  name: 'QaPage',
  components: {},
  props: {},
  data () {
    return {}
  },
  computed: {},
  watch: {},
  created () {},
  mounted () {},
  methods: {}
}
</script>

<style scoped></style>
|
视频组件:
<template>
  <div class="video-container">首页</div>
</template>

<script>
export default {
  name: 'VideoPage',
  components: {},
  props: {},
  data () {
    return {}
  },
  computed: {},
  watch: {},
  created () {},
  mounted () {},
  methods: {}
}
</script>

<style scoped></style>
|
我的组件:
<template>
  <div class="my-container">首页</div>
</template>

<script>
export default {
  name: 'MyPage',
  components: {},
  props: {},
  data () {
    return {}
  },
  computed: {},
  watch: {},
  created () {},
  mounted () {},
  methods: {}
}
</script>

<style scoped></style>
|
二、将四个主页面配置为 tab-bar 的子路由
{
path: '/',
name: 'tab-bar',
component: () => import('@/views/tab-bar'),
children: [
{
path: '',
name: 'home',
component: () => import('@/views/home')
},
{
path: 'qa',
name: 'qa',
component: () => import('@/views/qa')
},
{
path: 'video',
name: 'video',
component: () => import('@/views/video')
},
{
path: 'my',
name: 'my',
component: () => import('@/views/my')
}
]
}
|
最后测试。
页面布局
未登录头部状态
<template>
  <div class="my-container">
    <div class="header">
      <img
        class="mobile-img"
        src="~@/assets/mobile.png"
        @click="$router.push('/login')"
      >
    </div>
    <div class="grid-nav"></div>
    <van-cell title="消息通知" is-link url="" />
    <van-cell title="实名认证" is-link url="" />
    <van-cell title="用户反馈" is-link url="" />
    <van-cell title="小智同学" is-link url="" />
    <van-cell title="系统设置" is-link url="" />
  </div>
</template>

<script>
export default {
  name: 'MyIndex',
  components: {},
  props: {},
  data () {
    return {}
  },
  computed: {},
  watch: {},
  created () {},
  mounted () {},
  methods: {}
}
</script>

<style scoped lang="less">
.my-container {
  > .header {
    height: 361px;
    background: url("~@/assets/banner.png") no-repeat;
    background-size: cover;
    display: flex;
    justify-content: center;
    align-items: center;
    .mobile-img {
      width: 132px;
      height: 132px;
    }
  }
}
</style>
|
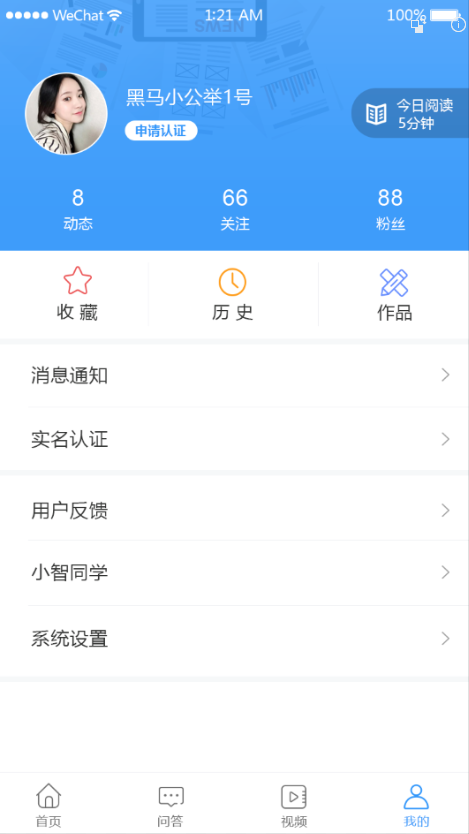
已登录头部
宫格导航
单元格导航
处理已登录和未登录的页面展示
<div v-if="$store.state.user" class="user-info-wrap">
...
</div>
<div v-else class="not-login" @click="$router.push('/login')">
...
</div>
<van-cell-group v-if="$store.state.user">
...
</van-cell-group>
|
用户退出

1、给退出按钮注册点击事件
2、退出处理
onLogout () {
this.$dialog.confirm({
title: '确认退出吗?'
}).then(() => {
this.$store.commit('setUser', null)
}).catch(() => {
console.log('取消执行这里')
})
}
|
最后测试。
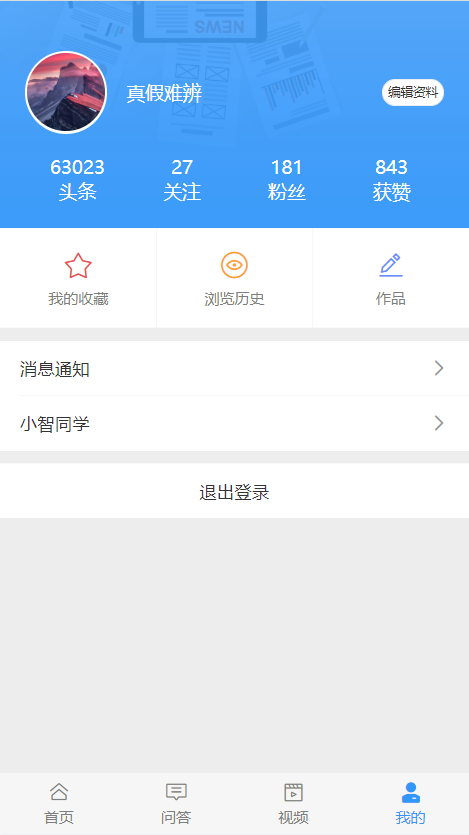
展示登录用户信息
步骤:
1、在 api/user.js 中添加封装数据接口
export const getUserInfo = () => {
return request({
method: 'GET',
url: '/app/v1_0/user',
headers: {
Authorization: `Bearer ${store.state.user.token}`
}
})
}
|
2、在 views/my/index.vue 请求加载数据
+ import { getUserInfo } from '@/api/user'
export default {
name: 'MyPage',
components: {},
props: {},
data () {
return {
+ userInfo: {}
}
},
computed: {},
watch: {},
+++ created () {
if (this.$store.state.user) {
this.loadUser()
}
},
mounted () {},
methods: {
+++ async loadUser () {
try {
const { data } = await getUserInfo()
this.user = data.data
} catch (err) {
console.log(err)
this.$toast('获取数据失败')
}
}
}
}
|
3、模板绑定
优化设置 Token
项目中的接口除了登录之外大多数都需要提供 token 才有访问权限。
通过接口文档可以看到,后端接口要求我们将 token 放到请求头 Header 中并以下面的格式发送。
字段名称:Authorization
字段值:Bearer token,注意 Bearer 和 token 之间有一个空格
方式一:在每次请求的时候手动添加(麻烦)。
axios({
  method: "",
  url: "",
  headers: {
    Authorization: "Bearer token"
  }
})
|
方式二:使用请求拦截器统一添加(推荐,更方便)。
sequenceDiagram
	participant A as 发起请求
	participant B as 请求拦截器
	participant C as 服务端
  A-->>B: http://xxx
  Note right of B: 设置 token
  B->>C: 请求发出
|
在 src/utils/request.js 中添加拦截器统一设置 token:
import axios from 'axios'
import store from '@/store'
const request = axios.create({
baseURL: 'http://ttapi.research.itcast.cn/'
})
request.interceptors.request.use(function (config) {
const { user } = store.state
if (user && user.token) {
config.headers.Authorization = `Bearer ${user.token}`
}
return config
}, function (error) {
return Promise.reject(error)
})
export default request
|

 微信
微信 支付宝
支付宝